

If you have used the Windows operating system, you may be familiar with Sleep Mode. Sleep Mode is a Windows operating system feature that places all active processes and files in RAM while turning off the display. Thus, the Sleep mode keeps your active programs and games running while conserving battery life. Sleep mode on a PC is quite useful since it minimizes power consumption; however, it does not always work as planned. Numerous Windows 11 customers have lately reported that Sleep mode is not working on their devices. The problem is not exclusive to Windows 11; it is also present on Windows 10 computers. Consequently, this article is quite helpful if you encounter problems activating the Sleep mode on Windows 11.
How To Quickly Fix Sleep Mode Not Working On Windows 11?
In this article, we’ll discuss a few of the most effective ways to fix Sleep mode not working on Windows 11. The methods we shared were straightforward; implement them as described. Let’s get started.
Ensure That Sleep Mode Is Turned On
Make ensuring Sleep Mode is enabled on Windows 11 before using other methods. To determine whether Sleep mode is enabled, please follow the procedures shared below.
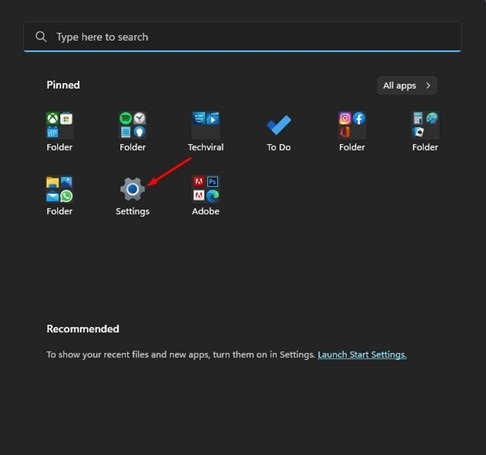
1 – Click the Windows 11 Start button and then choose Settings.

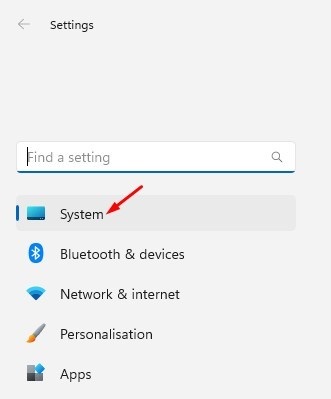
2 – On the left-hand side of the Settings page, click the System tab.

3 – Click the Power button in the right pane.
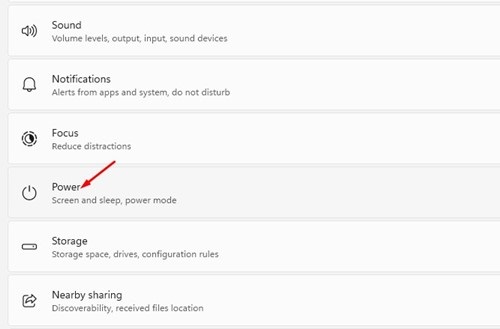

4 – Click the Screen and Sleep option afterward.
5 – If there are two options on the screen and you find to sleep. To enable sleep mode, activate a time from the drop-down menu.
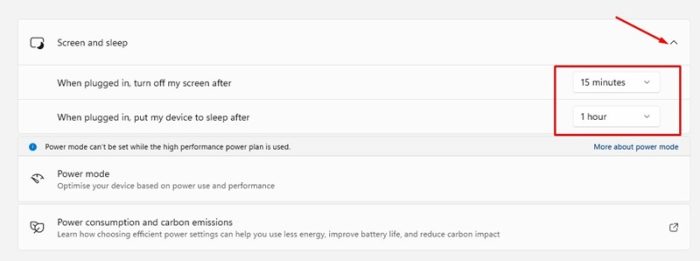

That is all! If you have previously chosen the time for screen and sleep, Sleep mode is likely enabled. Specify the time and activate Sleep mode if it is not.
Disable Fast Startup
Numerous Windows 11 users have said that disabling Fast Startup resolves Sleep mode not working on Windows 11 issues. Try disabling the Fast Startup option to quickly fix the Sleep mode not working issue on Windows 11.
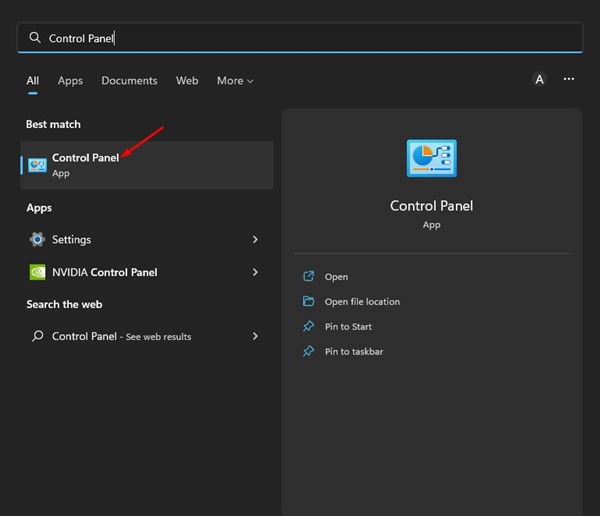
1 – Click the Windows 11 search type and enter Control Panel. Then, launch the Control Panel app from the list.

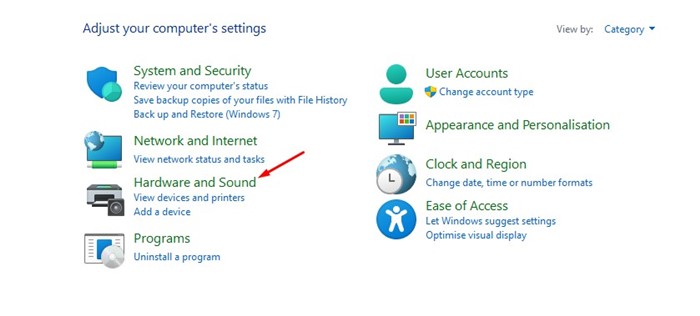
2 – Click the Hardware and Sound option on the left side of the Control Panel.

3 – Click the Power Options or change the power button link’s functionality.
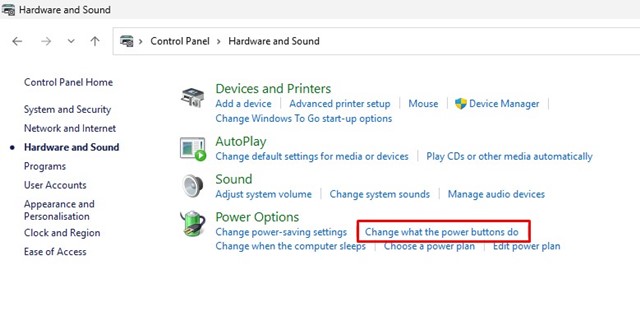

4 – Click the Choose what the power buttons do link on the Power Options screen.

5 – Click the Currently Unavailable Change Settings link on the following screen.
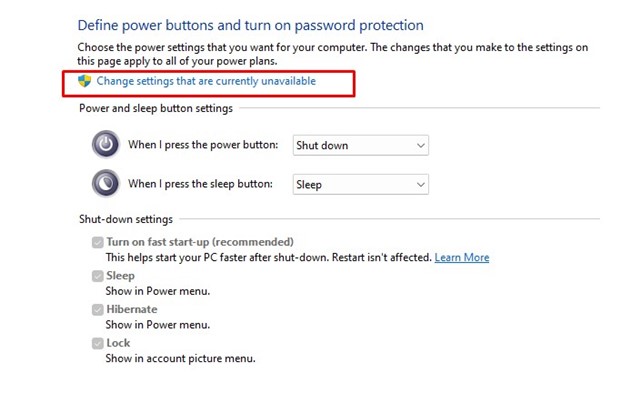

6 – Uncheck the option labeled “Turn on fast startup (recommended)” on the define power buttons and enable the password protection page.
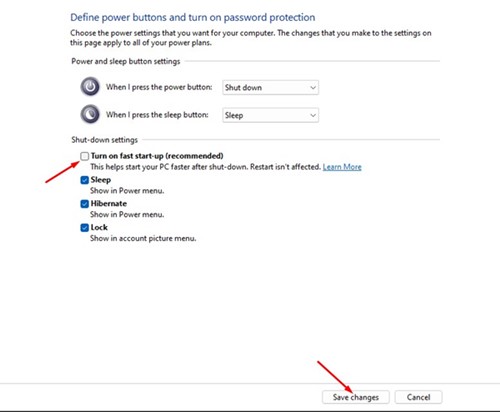

7 – After making the modifications, click the button labeled “Save Changes.”
That is all! After making the modifications, restart your Windows 11 computer. This will likely fix the problem of Sleep mode not working on your device.
Disable Wake Up Devices
Your computer may be roused from Sleep Mode with minimal mouse movement and keystrokes. Therefore, if you have a malfunctioning mouse, it is likely that the detachable device is preventing Windows 11 from entering sleep mode. Consequently, it would be best if you disabled Wake Up Devices in the Device Manager.
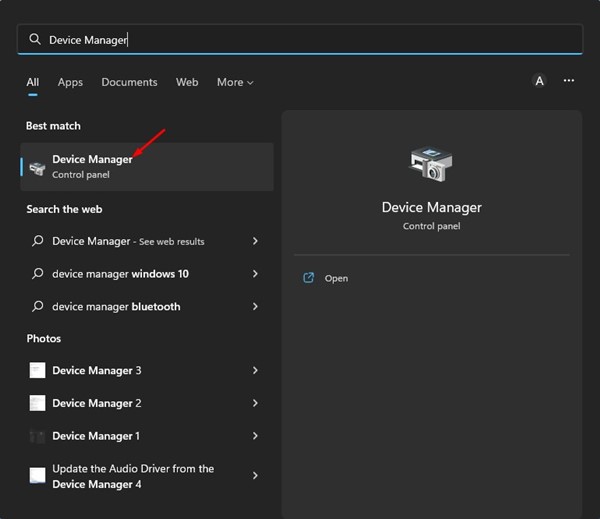
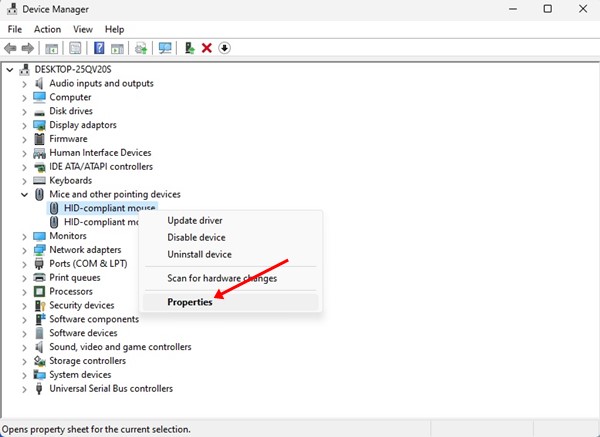
1 – Select the Windows 11 search bar and enter Device Manager. Next, open Device Manager from the app list.

2 – Expand the Mice and other pointing devices section in the Device Manager.
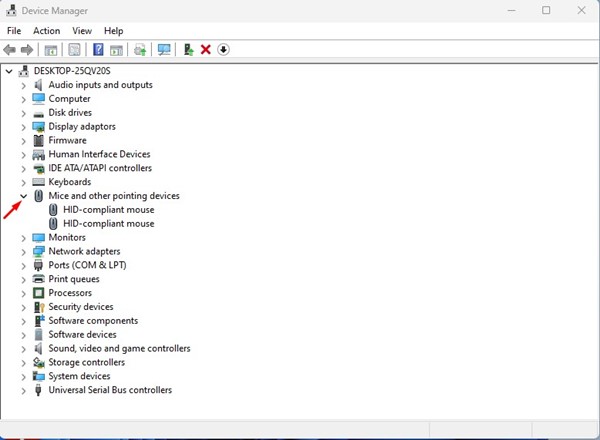

3 – Select Properties by right-clicking the HID-compliant mouse.

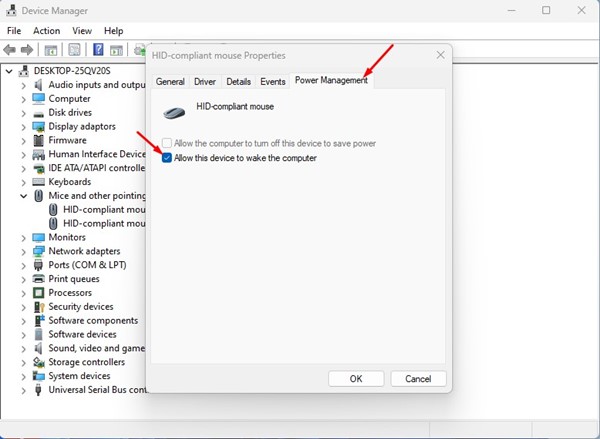
4 – Uncheck the ‘Allow this device to wake the computer’ option in the HID-Compliant Mouse Properties and click the Ok button.

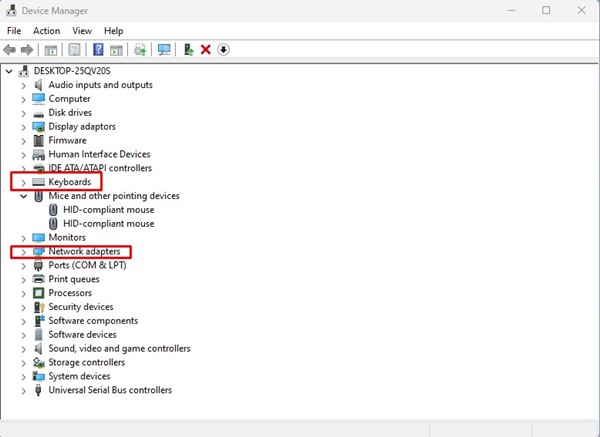
5 – Repetition is required for the Network Adapter and keyboards.
That is all! This is how to fix Sleep mode not working on Windows 11 computers.
Find & Remove Background Processes And Apps
If your Windows 11 computer can still not enter Sleep mode, you must identify and uninstall the programs preventing it from sleeping. This requires the use of the Windows Terminal application. Here are the steps you must take.
1 – Click Windows 11 search and type in Windows Terminal. Then, right-click on the Windows Terminal and choose Run as administrator.


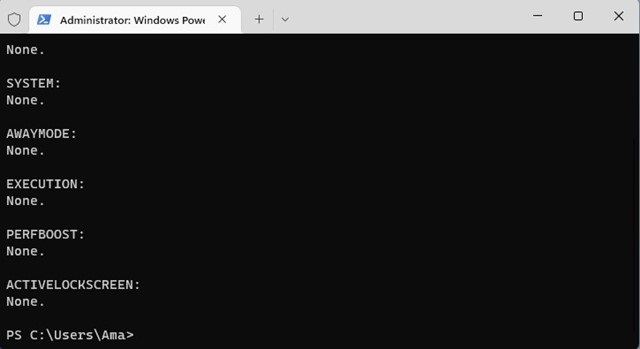
2 – On the Windows Terminal, enter the following command and enter.
Powercfg /Requests
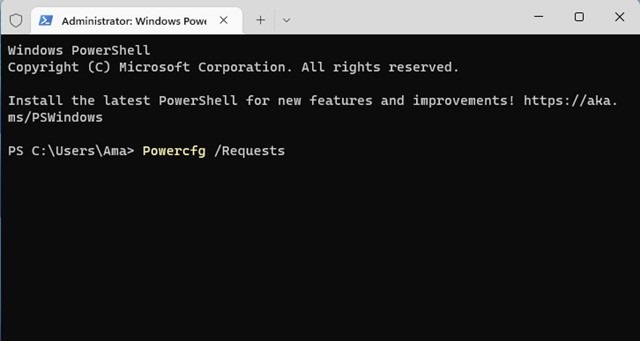

3 – Now, Windows Terminal will return any programs stopping your PC from entering sleep mode. You need to find the troublesome program and close it.

That is all! This is how to find and delete programs in Windows 11 that block your device from entering Sleep mode.
Modify Power Plan Settings
In this technique, we will make a few adjustments to the Power Plan settings to fix the Sleep mode not working issue. Here are some of the straightforward actions you must follow.
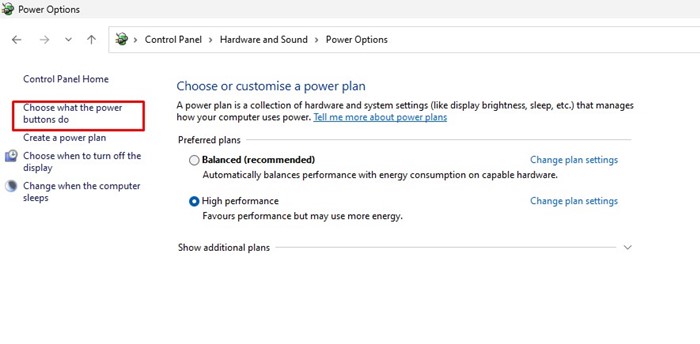
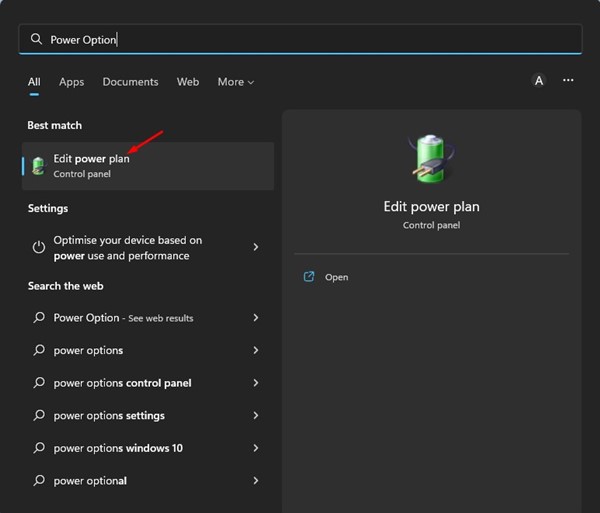
1 – Click the Windows 11 Search bar and enter “Power Options.” Next, open Edit Power Plan from the list-down option.

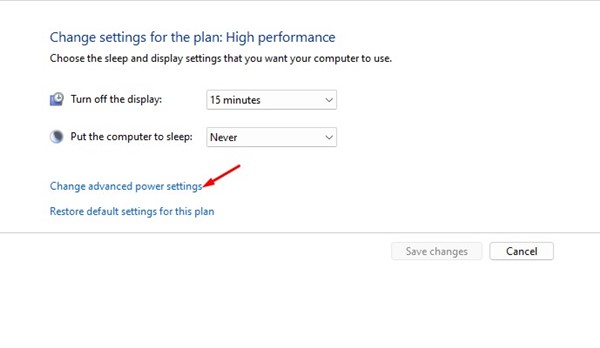
2 – Click the Change advanced power settings option on the page titled Change plan settings.

3 – Expand the sleep option in the Power Options menu.
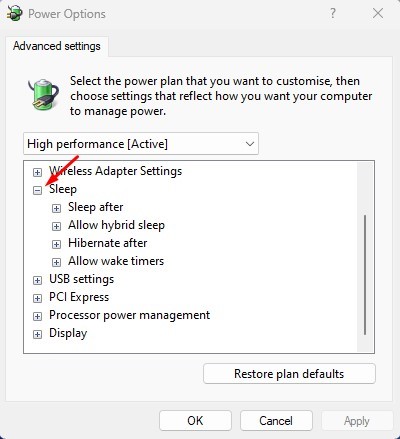

4 – Expand the Allow wake timers area and then choose Disable for both On battery and Plugged in.
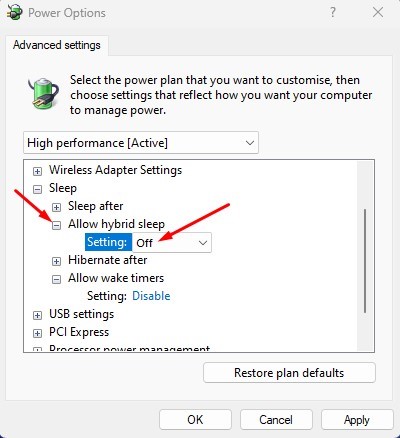

5 – Expand the box labeled Allow hybrid sleep and choose “Off” for both On battery and Plugged in.
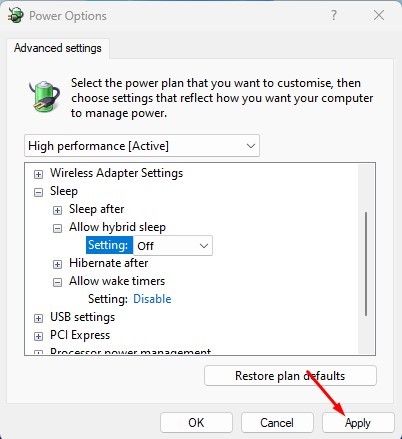

6 – After making modifications, click the Apply button.

That is all! This is how to modify the Power Plan settings in Windows 11 to fix the issue with the sleep mode not working.
Run Power Troubleshooter
If nothing has worked to fix the Sleep mode problem on your device, you must run the Power Troubleshooter. But first, you must follow the simple instructions shared below.
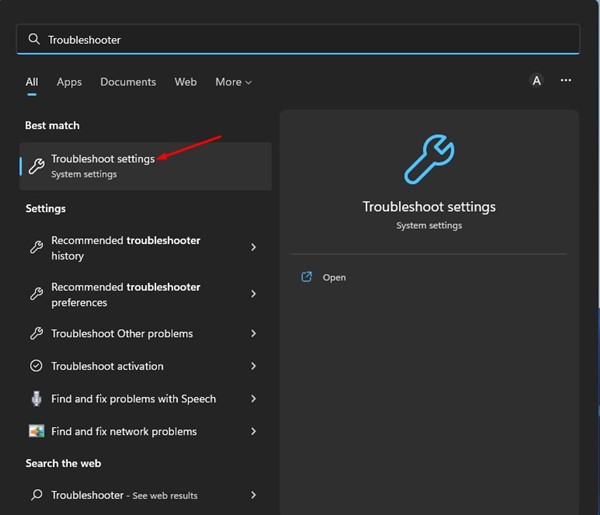
1 – Click the Windows 11 Search button and type Troubleshooter into the search box. Then, launch the Troubleshoot settings from the results list.

2 – Select the Other trouble-shooters option on the Troubleshoot page.


3 – Now, scroll down and click the Run button next to the Power option.


4 – This will run the Windows 11 Power Troubleshooter on your computer.
That is all! You must follow the on-screen directions to finish the troubleshooting procedure.
Conclusion:
Therefore, these are a few of the most effective solutions for Sleep mode not working on Windows 11. You may also use the same methods to resolve Sleep mode issues on your Windows 10 computer. Please let us know in the section below if you have any questions concerning these methods.