
Guide on How to Stream on Twitch PC, Mac, PS4 and PS5 and Other Devices: Are you interested in streaming on Twitch to showcase your unique entertainment brand to a global audience? We’re here to assist you. If you enjoy streaming games on Twitch, you can also use it for other creative activities. You can Live stream your art project, start a cooking show, or have conversations with your viewers. If you’re passionate about your subject and have much to say, you can easily attract an audience who shares your interests.
The good news is that starting streaming on Twitch is easy. Setting up a basic stream is simple; if you do well, you could even make money from it. We will provide all the information you need to get started and share some advanced tips for creating an attractive stream that will keep people coming back. Let’s start now!
Twitch Streaming Requirements
Streaming on Twitch is surprisingly easy to get started with. You need a gaming console, PC, or Mac and a webcam with a built-in microphone to start streaming. Consider getting a condenser microphone with a pop shield to improve your stream’s audio quality. It doesn’t have to be expensive. You’ll need a decent internet connection with a steady upstream speed to stream on Twitch. It doesn’t have to be super-fast, but 8Mbps should be sufficient for streaming in 1080p at 60fps.
You’ll need the right software for streaming to Twitch. Streaming on consoles is simple. The PS4 and PS5 are already set up for streaming, while Xbox consoles require downloading the free Twitch app from the Microsoft store.
1. Twitch Studio
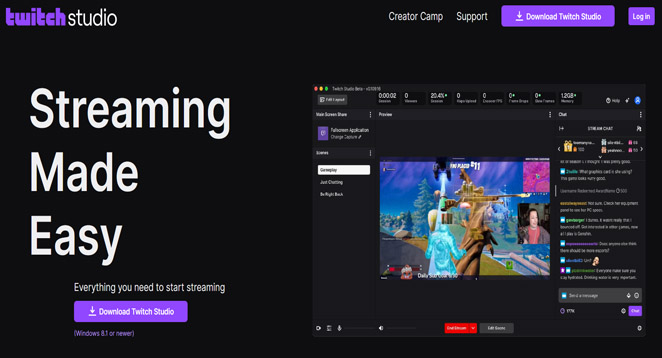
Streaming from a PC or Mac can be more complex because many streaming apps are available. Twitch has a free app called Twitch Studio. It’s the easiest way to start streaming because it has a guided setup and customizable templates for quickly making your stream look good. As you become more experienced, you may find Twitch Studio somewhat limited. In that case, switching to a more advanced option might be better.
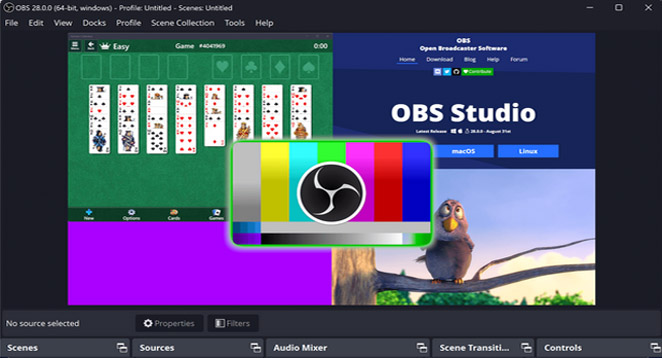
2. OBS Studio
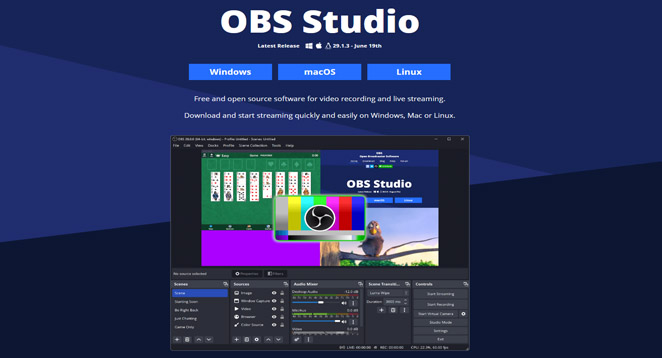
The most popular streaming option is OBS Studio, which is free and open source. It is available for PC, Mac, and Linux. If the term ‘open-source’ worries you, your concerns are valid. OBS may seem challenging initially, but it’s easy to learn. Once you get the hang of it, you’ll discover that it’s a flexible and powerful tool for streaming on platforms like Twitch.
3. XSplit
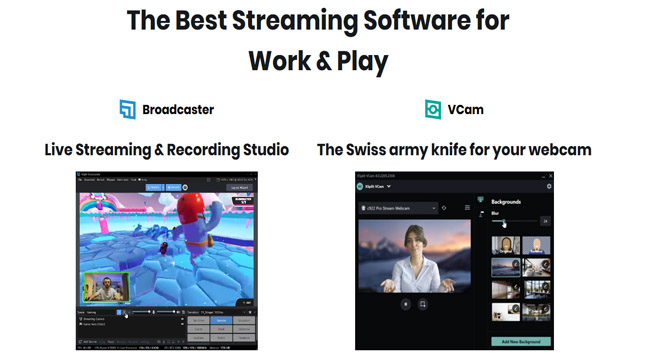
XSplit is a Windows 10-only alternative to OBS. The software is user-friendly and produces excellent results. However, the free version has a watermark and limited scenes, so you may need to upgrade to the premium version.
Advanced options
If you want to succeed in streaming and have a fully equipped channel, you must invest in some additional items. For example;
1. Lights
Want to appear attractive on camera? The large studio light you have will need to be increased. You should have a good ring light in front of you for a nice, soft light that makes you look good.
2. Green screen
Don’t have a fancy studio? Quickly enhance your location using the chroma key, a feature in most broadcasting packages. Using a green screen can improve your stream in various ways. Not only does it provide visually appealing backgrounds, but with some creativity, you can discover numerous creative ways to make your stream more impactful.
3. Capture card
When streaming games, you can either use one machine for everything or have a dedicated streaming PC or Mac while playing games on a separate computer or console. The latter option is generally better. You’ll need a capture card to bring video into your streaming machine to achieve that. For the best results, we suggest not paying less than $150/£150 and choosing reputable brands like Elgato or Avermedia. While there are cheaper options available, these brands offer better quality.
Getting started
If you have all the necessary gear, the next step is to set up your Twitch streaming. To create a Twitch account, go to Twitch on your desktop and click the Sign-Up button in the top right corner. To create an account, please provide a username, a strong password, your date of birth, and your email address. After you’re all set up, we suggest turning on 2AF authentication to ensure the security of your account.
Before you start streaming, it’s a good idea to check out Twitch’s community guidelines and terms of service to avoid getting banned. While it’s unlikely that you’ll violate them, it’s always better to be safe. Before launching your channel, customize it with a profile photo, banner, and bio. Once done, you can focus on additional customization like a channel trailer, stream schedule, and offline image.
How to Stream on Twitch PS5 and PS4
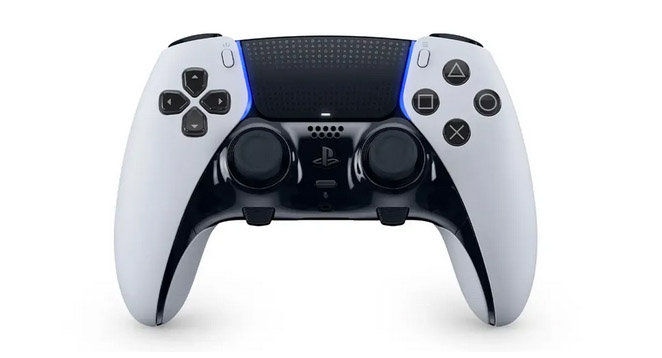
If you have a PS4 or PS5, you have the easiest deal. To share your gameplay on Twitch, press the ‘Share’ button in the center of your controller. Then, choose ‘Broadcast Gameplay’ and select Twitch as your streaming platform. Once you’ve logged in to Twitch, you can start streaming whenever you want. Before going live, you can customize the quality settings and layout options. You can also include a camera in your stream if you have a camera connected to your console.
If you have an Xbox One or a newer model, there are some additional steps to consider. To get started, download the Twitch app from the Microsoft Store. Once downloaded, sign in using your Twitch credentials. To stream a game, first load the game and then open the Twitch app. From the main menu, select Broadcast.
How to Stream on Twitch PC and Mac
If you’re looking for a long-term strategy to grow your channel and engage your viewers, this more complex option is the way to go. It may require more effort, but the rewards will be worth it.
The simplest way to stream from a PC is by using Twitch Studio. The software is currently only available for Windows and is still in beta. However, it is free to use and has been designed to be user-friendly and avoid technical difficulties. Since it’s a first-party solution, it seamlessly integrates with Twitch immediately. It also has a user-friendly onboarding process that automatically detects your webcam and microphone, making it simple to capture and broadcast anything else you desire. The software has ready-made layouts to customize your stream and includes features like alerts and chat for engaging with your audience.
If you want more control over your stream and don’t mind doing some work, choose OBS Studio or XSplit. Continue reading for quick guides on how to get started with both.
How to Stream on Twitch OBS Studio
To start, go to the OBS website and download OBS Studio for your operating system. After downloading and installing, there are a few initial steps to complete before you can start streaming.
To begin, open OBS and go to File. From there, choose Settings. To choose Twitch as your streaming service, click Stream in the left-hand menu. Then, select Twitch from the drop-down menu labeled “Service.”
You have two choices for your next step. To set up your stream, the simplest way is to click on “Connect Account” in the Stream window. It will open a Twitch login window where you can enter your credentials. Once you’ve done that, you’ll be all set to start setting up your stream.
If you prefer not to connect OBS directly to your Twitch account, you can still do it by getting a stream key from Twitch. To log into Twitch:
- Open your web browser and go to your dashboard.
- From there, select Stream Key.
- Follow the instructions provided to obtain a unique and lengthy code.
- Copy this code and navigate to OBS’ Broadcast Settings menu.
- Now, Paste the code into the Stream Key box. Once you’ve completed that task, you’ll be prepared for the next phase.
Setting up your stream can be complicated, depending on what you want to stream. To add a source in OBS, click the Sources box and choose Add. You will see a list of options. If you want to stream a game, select Game Capture. Make sure the game is running in the background. Then, choose your game from the drop-down menu. To capture your webcam feed, select “Video Capture Device,” you can add other elements like a background image, by clicking on the “Sources” box. It will help create the scene for your streaming.
After choosing your stream’s elements, click Preview Stream to see how everything looks. If you want to make it more visually appealing, click on Edit Scene to organize your elements. Once satisfied with the scene layout, click Start Streaming to begin your live broadcast!
How to Stream on Twitch XSplit
Setting up and using XSplit is easier, but you must pay for the best results without watermarks. We suggest trying OBS first and switching to XSplit only if you need help getting used to OBS.
To get started, download and install XSplit. Once it’s installed, open the program. To add a Twitch channel, select Broadcast at the top menu. Then, choose Add Channel and click on Twitch. To log in to Twitch, click “Authorize” and enter your login details in the window. Then, click on “Login“. To get started, use XSplit’s channel setup wizard. It will guide you through the process and choose the optimal stream resolution. Click on Finish to access the stream properties dialogue. It will automatically select the optimal options for you. Once done, click OK to proceed with setting up your scene.
You can find the Screen Sources section in XSplit, go to the bottom left of the screen and click on Add. To stream a game, hover your mouse over “Game capture” and choose the game you want. To add additional content like a screen capture, webcam feed, images, video, or text, select them from the Add section.
After selecting everything you want, you can quickly move and resize each element until it looks perfect. Then, choose Broadcast, then Twitch, and you’ll start streaming live.
Elevating your Stream on Twitch to the next level
Here’s what you need to know about streaming on Twitch: Once you’re familiar with OBS or XSplit, you can easily customize your stream layout, add more sources, and use green screen backgrounds for your webcam feed. But if you want to connect with your audience, grow your channel, and make money from your content, that’s a different topic altogether. Luckily, Twitch has a helpful guide to maximize your streaming experience. It covers everything from the basics we’ve discussed to more advanced topics like personal branding, keeping viewers engaged, subscriptions, ads, and sponsorships. So, please bookmark NimbleTech for updates.
Final Words
Twitch is an app where users can share and watch videos online. The videos can be about games, music, events, personal creativity, and even social eating. Twitch has grown a lot since it started in 2011. Twitch has 2 million content creators each month and 15 million active users daily. On average, users spend 106 minutes watching Twitch, with over 2 million peak site viewers.
The Twitch app is available on various mobile platforms like Android, iPhone, Xbox One, PlayStation 4, Xbox 360, and more. With these devices, you can have a great time connecting with Twitch users worldwide. The Twitch app makes online video streaming even better by connecting you with the world. This page is about how to stream on Twitch using various devices.